-
Champagne Telmont Debuts a New Bottle That Mother Nature Is Sure to Appreciate
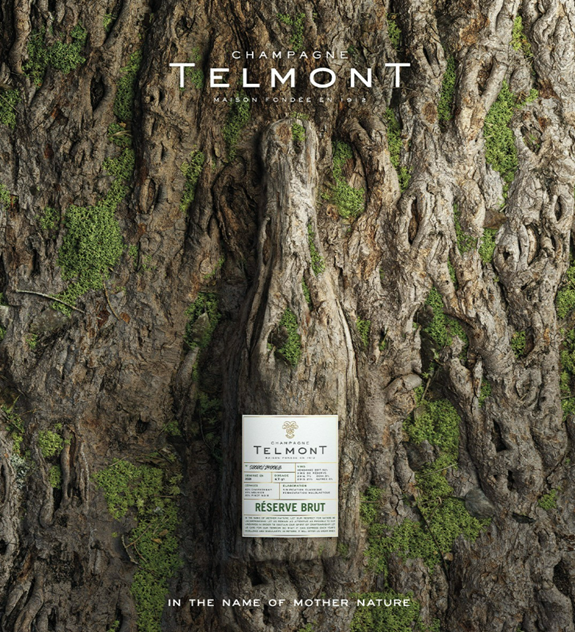
30 % of Champagne’s carbon footprint stems from bottle manufacturing. Champagne Telmont decided to change that number by creating a glass bottle that weighs 800 grams (1.76 pounds) rather than the traditional standard of 835 grams.
How it Began
In 1911, during the Champagne riots in France, visionary Henri Lhopital composed a song, “Gloire au Champagne,” to encourage winemakers in the Champagne region to continue upholding the high standards of Champagne, no matter the riot outcomes.
Henri’s passion for those high standards led him to create his own label and champagne house in 1912. Today, after generations of care, Champagne Telmont (named in 1947) continues to produce the highest-quality Champagne. It earned its first organic certification in 2017 and plans to become 100% certified organic by 2031.
A Devotion to the Earth
As I dug into the story of this lovely brand, I found their passion for a clean earth and high-quality champagne to be contagious. Here are a few other amazing things the Telmont Estate vineyards are doing to maintain high standards and improve the carbon footprint:
- No gift boxes — just a beautiful bottle
- No transparent bottles. The dark green bottle you receive is made from 85% recycled glass.
- The electricity used at the vineyard is 100% from renewable sources.
- Bottles shipped to the United States take a trip on wind-powered Neoline ships rather than air transportation.
Champagne Telmont’s Réserve Brut
“Creativity and innovation must go hand in hand with responsibility. By adopting this ultra-lightweight bottle, we aim to redefine industry standards and contribute to a more sustainable future for Champagne, says Ludovic du Plessis, President of Champagne Telmont. We aim with this new bottle to set a new standard for Champagne, in the name of Mother Nature.”
Champagne Telmont Réserve brut debuts as a uniquely lightweight bottle, reducing carbon emissions by 4%. Beyond the lighter weight bottle, you’ll notice a lovely blend of three grapes that create a rich and fruity champagne.
The awards Champagne Telmont’s Réserve Brut has won are too many to mention. You can purchase a bottle for your collection at ReserveBar.com.
Changing the Industry One Bottle at a Time
Though Champagne Telmont currently offers one type of champagne in an 800-gram bottle, the goal is to have all its wines bottled in lighter-weight bottles in 2025 and beyond.
The ultimate goal, however, is that the entire wine industry will catch on and begin creating lighter-weight bottles as well. In doing so, 8,000 tons of CO2 emissions would be eliminated annually.
-
360 Stainless Steel Cookware
“A proper saute pan, for instance, should cause serious head injury if brought down hard against someone’s skull. If you have any doubts about which will dent — the victim’s head or your pan — then throw that pan right in the trash.”
― Anthony Bourdain
I am obsessed with stainless steel cookware. The first set I ever received was the classic Paul Revere cookware set. Remember that set? It wasn’t the highest quality; the pans didn’t have much weight to them; however, they had a pretty copper bottom, and they did the trick.
My mom gave me that first set of stainless-steel cookware as a wedding gift many moons ago. Six kids, one divorce, and a second marriage later, I still use a few of the Revereware pots and pans. The only ones missing are the ones I gave to the children as they left the nest.
As time passed, I added high-quality stainless-steel cookware to my kitchen and heeded Mr. Bourdain’s advice…excellent stainless-steel cookware should be heavy.
I love to cook and believe you get what you pay for when it comes to tools in the kitchen. I recently broke down and purchased one set of non-stick pans for eggs and pancakes (the only two things I think turn out best in non-stick). Other than that, it’s steel everything, and here’s why:
- Stainless steel resists scratches, rust, and corrosion.
- It’s often heat-safe from stovetop to oven to table.
- Stainless steel is non-reactive, so no need to worry about cooking with acidic foods.
- High-quality stainless-steel cookware is made with layers of metals, creating the most even heat distribution.
- Steel won’t leach into your food or upset flavors.
- Use any type of utensil with it, including metal, wood, and silicone.
- Stainless steel cookware can last a lifetime, even for generations, when well cared for.
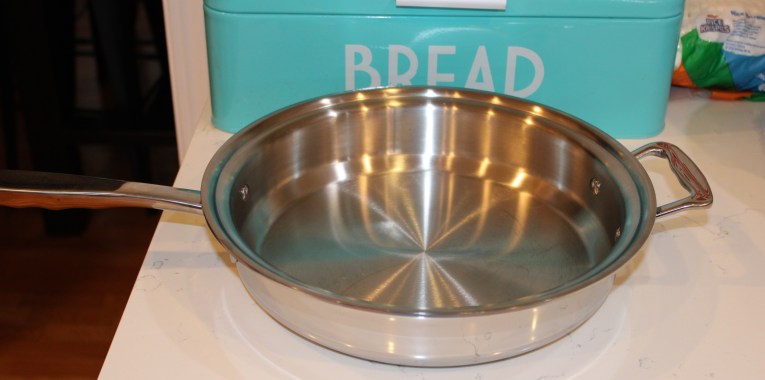
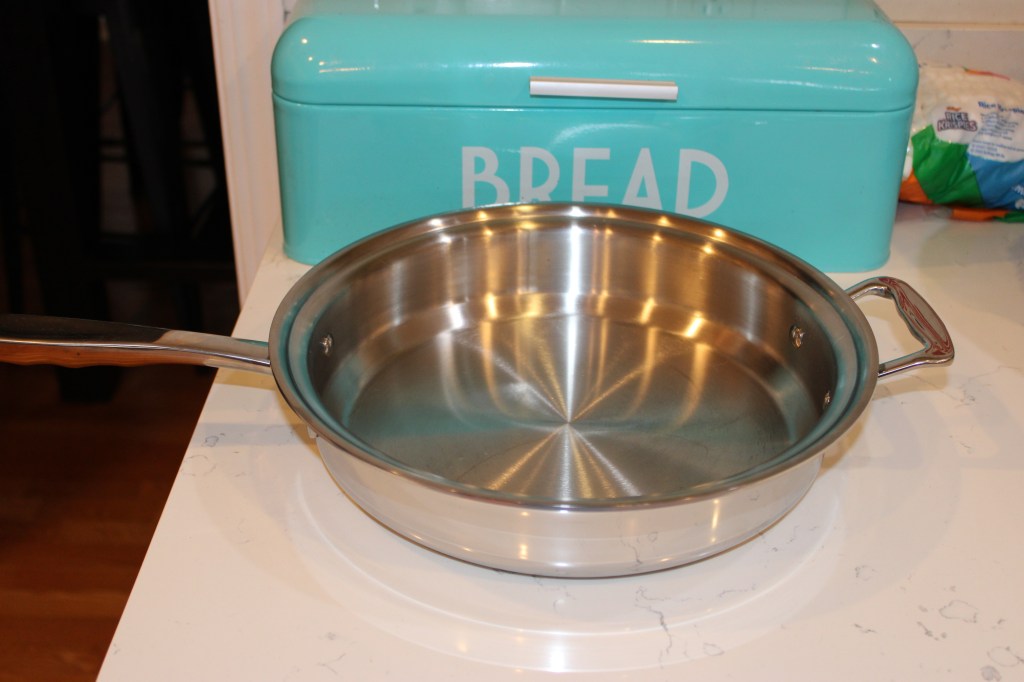
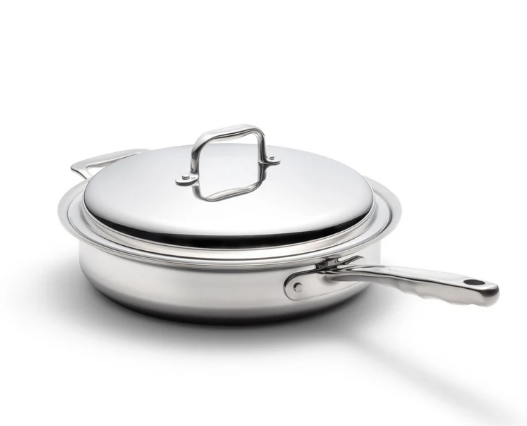
My latest addition is this beautiful 3.5 Quart Sauté Pan with a Stainless Steel Lid, by 360 Cookware. I have other 360 pieces and I love them so very much. 360 cookware is made in the USA and is rock-solid surgical-grade steel. It’s the kind of stainless-steel cookware that makes one want to cook with stainless steel.
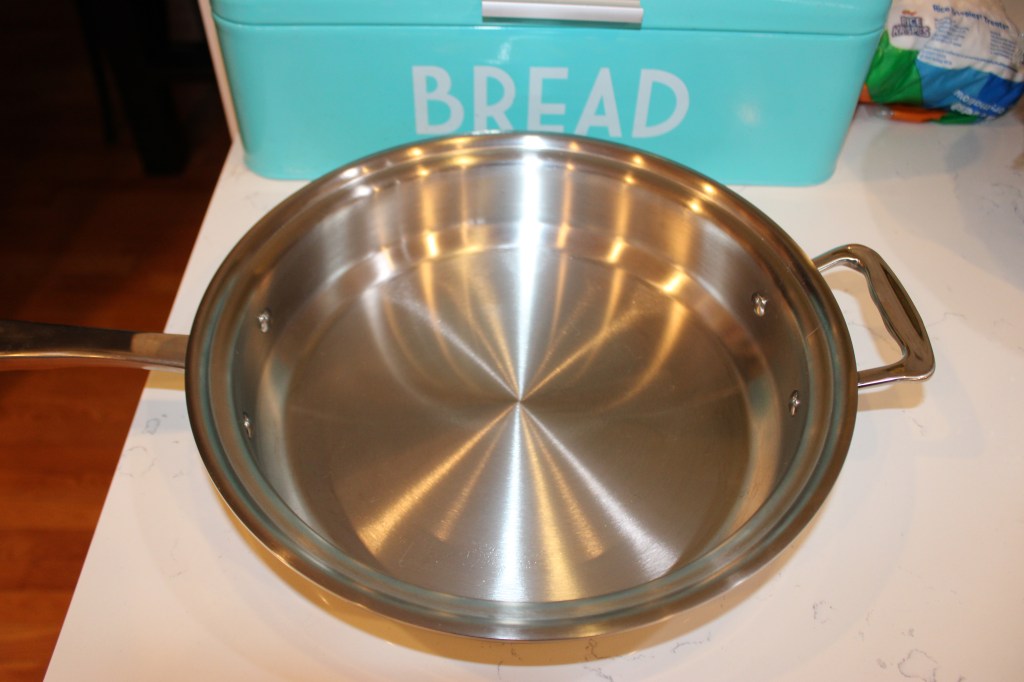
This gorgeous sauté pan arrived just in time for Thanksgiving cooking…and wow, did we have plenty of that to do. In these photos, I am preparing the celery and onions (in butter, of course) for my homemade stuffing. On a side note, we are still eating leftover stuffing because I always make too much. No one is complaining.
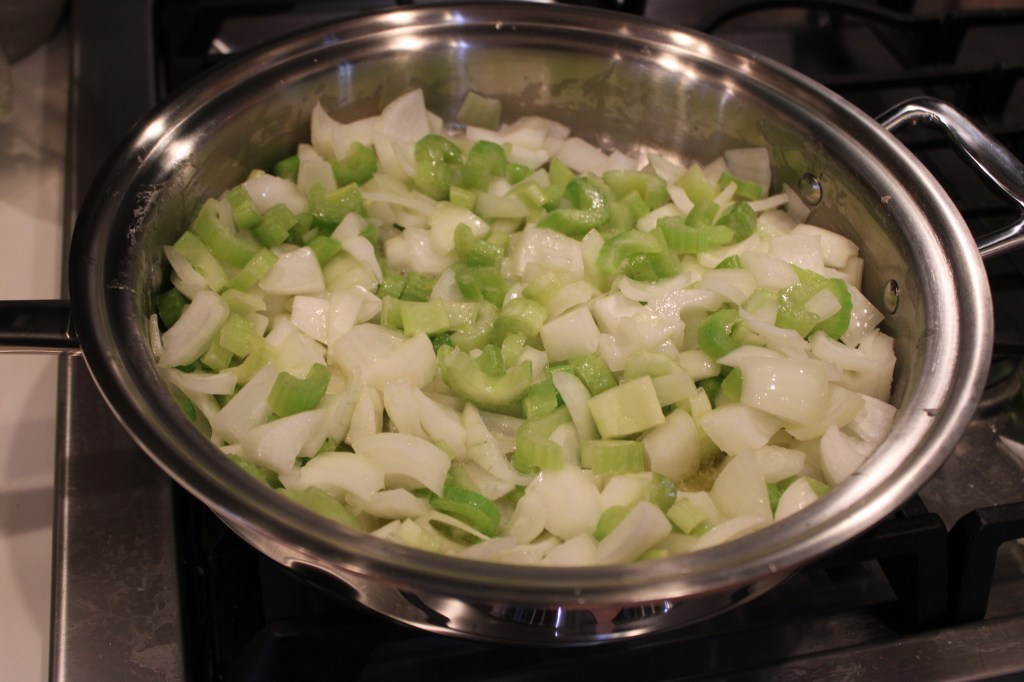
The pan has a heavy bottom and a shiny interior, which cleans up beautifully. I appreciate the stainless-steel lid keeping the heat in, plus it looks lovely with the pan. More importantly, the lid with a 360 cookware pan is designed to create a vapor seal. The patented Vapor Technology seals in flavors and juices, allowing cooks to use less fat and water in their dishes.
The extra handle on the side is helpful when pouring sauteed food into another dish, and the “stay cool” long handle makes it easy to grab the pan and move it around. There is no plastic or other materials—it’s steel everywhere.
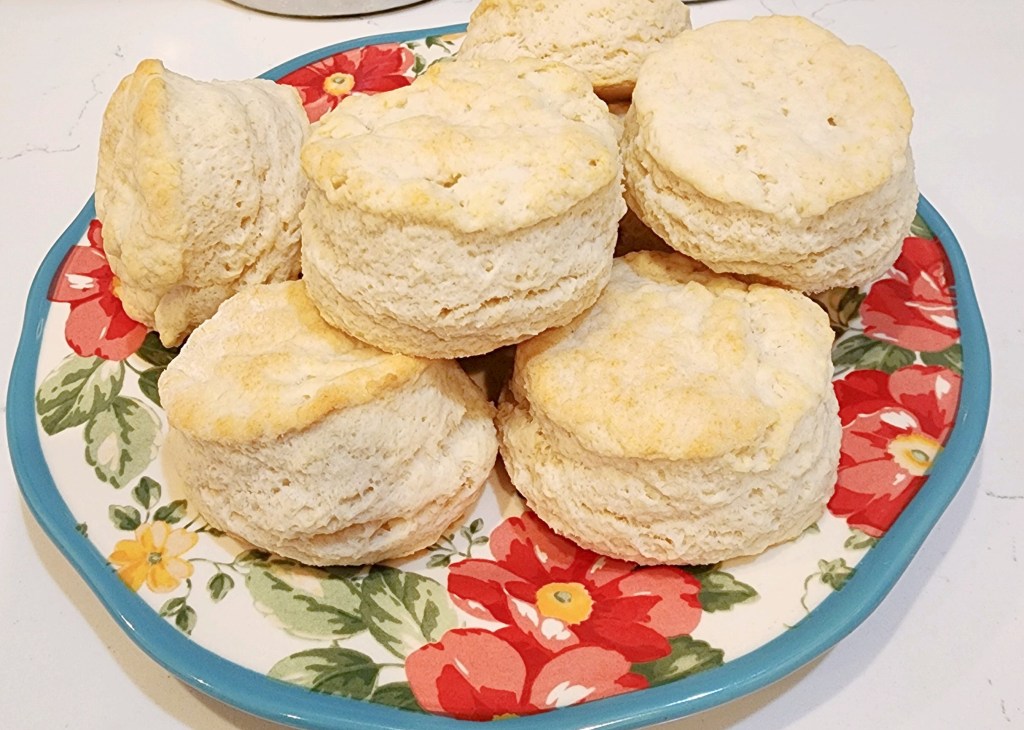
I also enjoy their baking sheets. Like the other cookware from 360, they are heavy-duty and have a multi-layer design. My buttermilk biscuits baked up perfectly, and the medium-sized cookie sheet will be busy making cookies during the holidays.
Excellent cookware is an investment, and you won’t regret purchasing 360 Cookware…especially if you love to cook. The company offers sets and single pieces. Start with one piece, and you’ll soon be collecting them all.
-
Duke & Dame Salted Caramel Whiskey
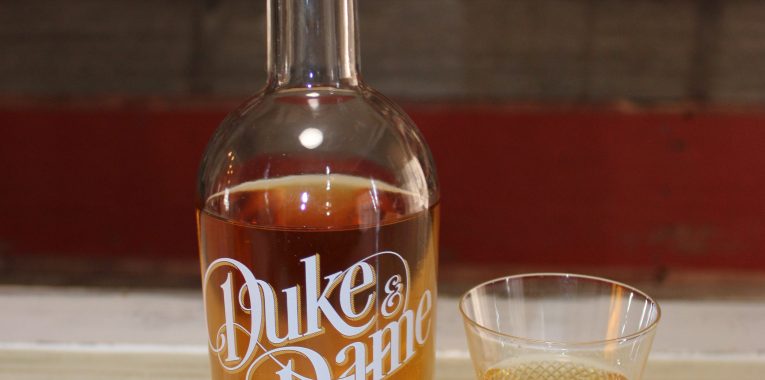
When asked at a dinner party what flavor whiskey he would create if given a chance, Chima Burey, co-founder of Duke & Dame, responded with a whiskey that tastes like Sugar Daddy candy or Werther’s Original caramels.
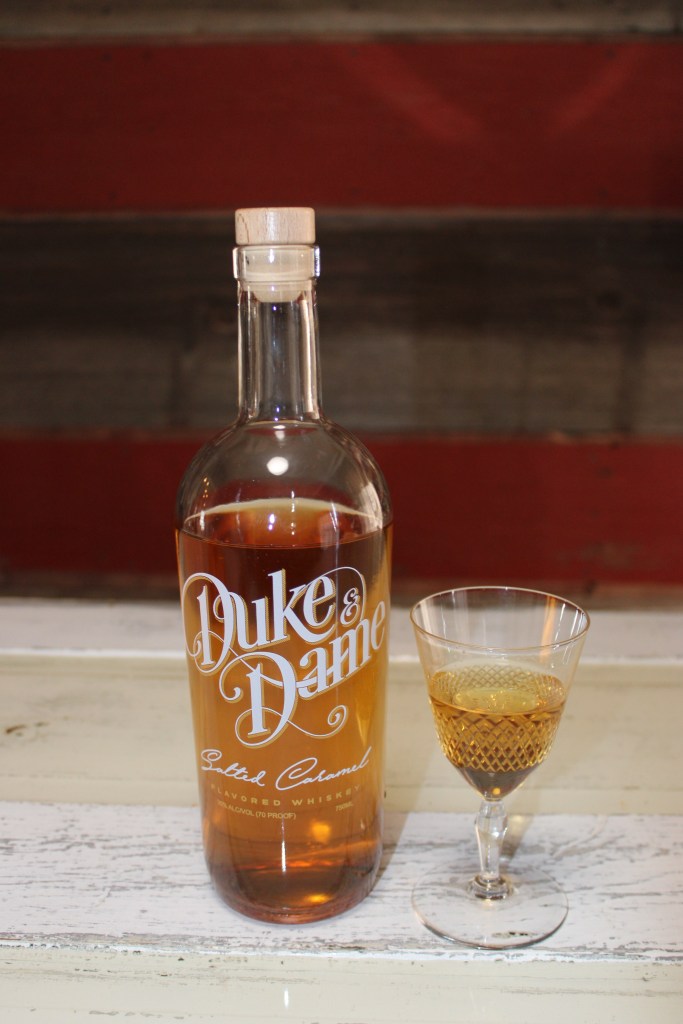
Whiskey mixed with a hint of salted caramel—what could go wrong? Absolutely nothing. Caramel is a familiar note in many whiskeys, so the mix is a match made in heaven, or in this case, barrels.
The founders of Duke & Dame, Amani Macaulay and Chima Burey, have created a smooth spirit that blends whiskeys (including bourbon and corn whiskies) with 100% natural salted caramel flavor. You won’t find a chemical-type caramel flavoring in Duke & Dame. Imagine biting into a salted caramel and then taking a sip of whiskey. The combo is perfection, and Duke & Dame nailed it.
Here are the notes you’ll enjoy in Duke & Dame Salted Caramel Whiskey:
Nose: Butterscotch, vanilla, caramel
Palate: Caramel, oak, toffee
Finish: buttery, sweet, a long, satisfying finish
Duke & Dame Salted Caramel Whiskey is an excellent choice if you are looking for a sipping whiskey. It’s lovely served neat or over ice. It’s also a great sipper if you’re new to whiskey or do not enjoy the heat of peppery ryes and other high-proof whiskeys. At only 70 proof, Duke & Dame packs in plenty of flavor without the burn.
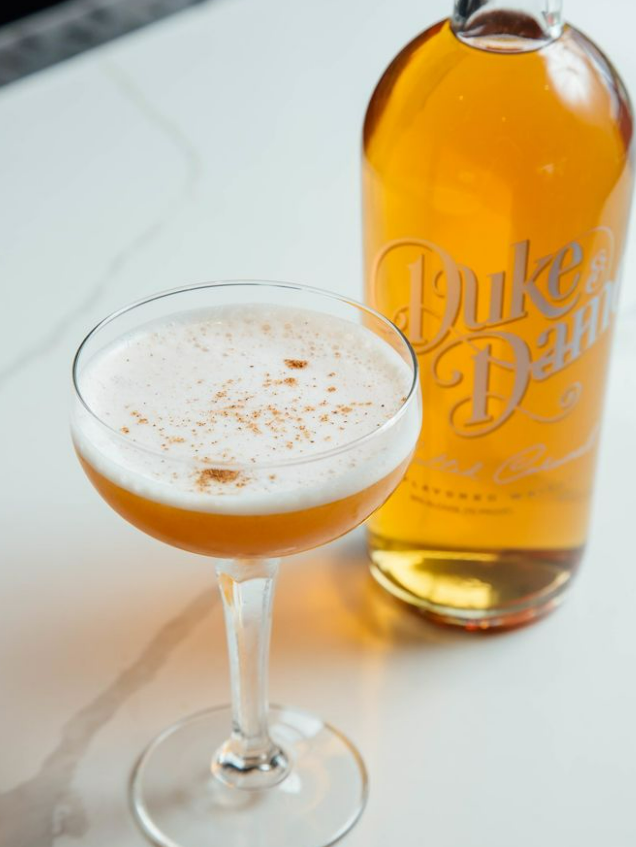
After enjoying some slow sipping of our Duke & Dame Salted Caramel Whiskey, we decided to put it to the “Old-Fashioned” test. The distillery offers its own Old Fashioned recipe; however, we used our classic recipe with the Duke & Dame whiskey. The result: we have a winner. I LOVED it. I do recommend leaving out the simple syrup in the recipe. The whiskey is sweet enough.
As mentioned, caramel and whiskey pair fabulously together, each complementing the other. Unsurprisingly, salted caramel whiskey makes a beautiful Old Fashioned (I do recommend leaving out the simple syrup in the recipe. The whiskey is sweet enough). Duke & Dame has some other magical cocktail recipes you can try at home. How about a little Caramel Pumpkin Pie, or Caramel Apple Sangria? I know…it’s distracting.

As bourbon collectors, I can’t help but wonder if we will ever get tired of it or if, eventually, nothing new and unique will come along. Labels like Duke & Dame remind us that there will always be a new whiskey adventure to look forward to. As long as creative and passionate people like Amani Macaulay and Chima Burey are willing to turn dreams into reality, whiskey will never get boring, and we will never have too many bottles. Check out Duke & Dame, where you can purchase a bottle and stock up on holiday gifts.
-
CHATTANOOGA WHISKEY RELEASES EXPERIMENTAL
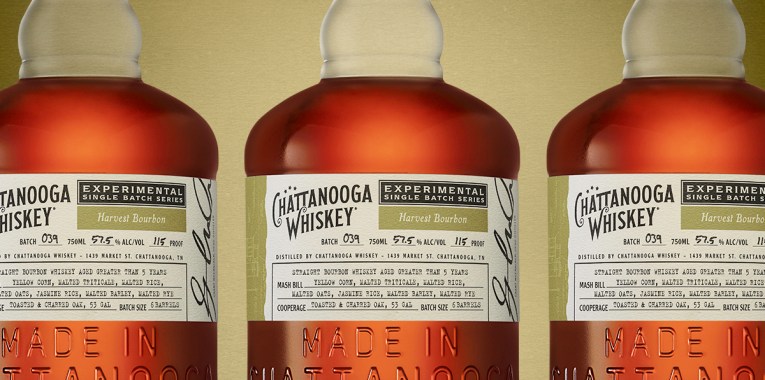
BATCH 039: HARVEST BOURBON
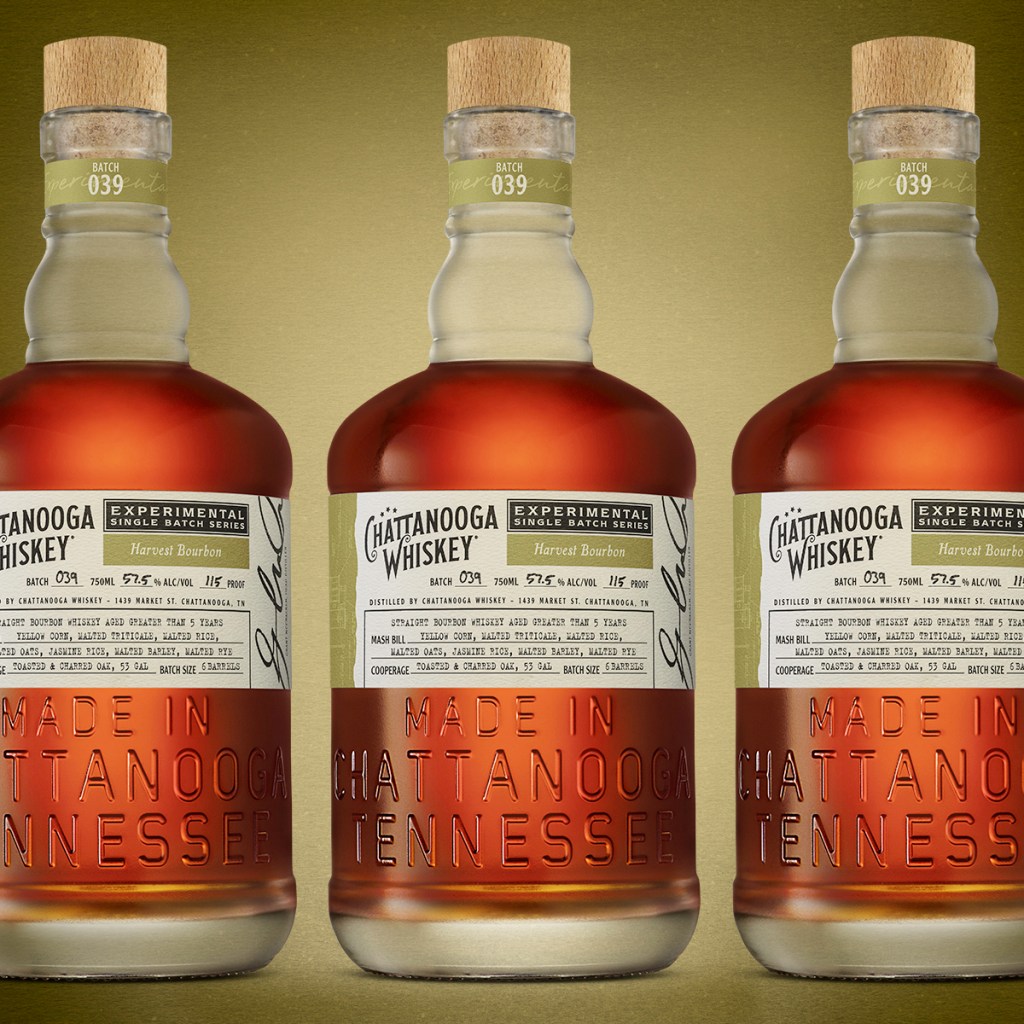
Chattanooga, TN (August 2024) – Chattanooga Whiskey announces the newest release in their
award-winning Experimental Single Batch Series: Batch 039: Harvest Bourbon. This 7-grain high malt
bourbon – released to welcome in the harvest season – explores the vast array of flavors imparted by
non-traditional whiskey grains, including raw and malted rice, malted oats, and malted triticale.“Classically speaking, bourbon whiskey is a spirit made from four major grains: corn, rye, wheat, and barley. While these grains provide the familiar bourbon-y flavors that we all know and love, our distillers wanted to explore a completely different side of bourbon – made from a completely new ‘palette’ of flavor grains.” – Grant McCracken, Founding Distiller.
Made from a batch of only 6 barrels, Harvest Bourbon was aged for over five years in three different types of oak barrels. Each of these barrel types was seasoned, charred, and toasted to various lengths and levels, which were specifically selected to complement the characteristics of the underlying alt-grain mash bill.
“Our distilling team’s approach to making whiskey has always been grain-to-glass. This simply means that every step of the process builds off of the one that came before it. Thus, when it came to aging this experimental whiskey, we chose a variety of casks that would complement the floral and toasty flavors of raw and malted rice, the creamy notes of malted oats, and the sweet and spicy impact of malted triticale. The result is a one-of-a-kind alt-bourbon, built from the ground up.” – Grant McCracken, Founding Distiller.
Batch 039: Harvest Bourbon will be available at the Chattanooga Whiskey Experimental Distillery at $69.99
for a 750ml bottle, and available online for shipping to select states on Seelbachs.com. Bottled at 115 proof, expect notes of snickerdoodle cookie, fruit cake, oatmeal creme pie, horchata, and rice pudding.About Chattanooga Whiskey:
Starting in 2011, Chattanooga Whiskey challenged the laws and won the right to distill whiskey in Chattanooga for the first time in 100 years. The Chattanooga Whiskey Experimental Distillery – the only standalone experimental distillery in the country – hosts over 50,000 visitors per year and serves as a hub of innovation and creativity to push the boundaries of craft whiskey.Since opening in 2015, the distillery has trialed hundreds of grains, barrels, techniques, and ingredients,
releasing 39 Experimental Batches and 56 Experimental Single Barrels in that period – all within their
grain-to-glass Tennessee High Malt style.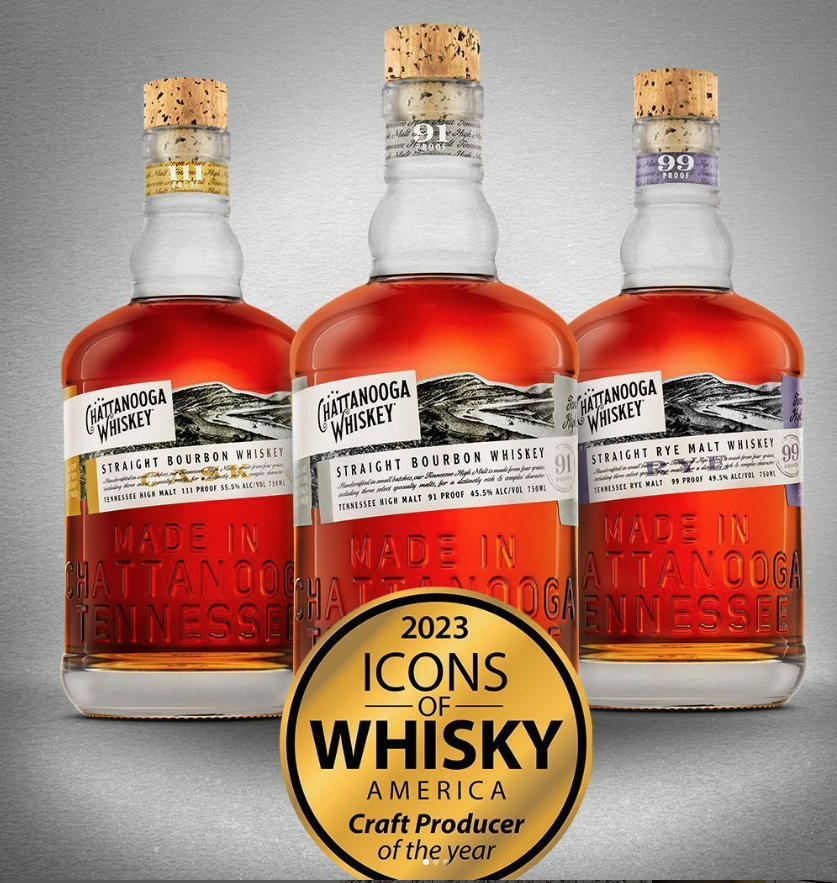
Independently owned and operated, Chattanooga Whiskey is committed to making whiskey that emphasizes quality, complexity, and authenticity through its one-of-a-kind Tennessee High Malt style. Most recently, Chattanooga Whiskey was named Icons of Whisky – Craft Producer of the Year (both America & Global) at Whisky Magazine’s 2023 World Whiskies Awards. -
Horton Coconut Rum Cocktails
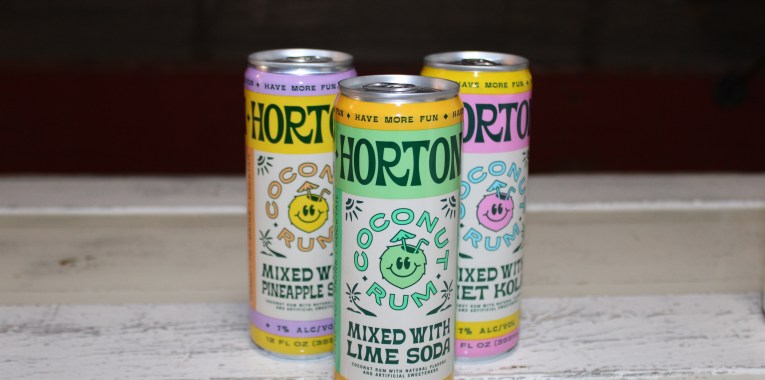
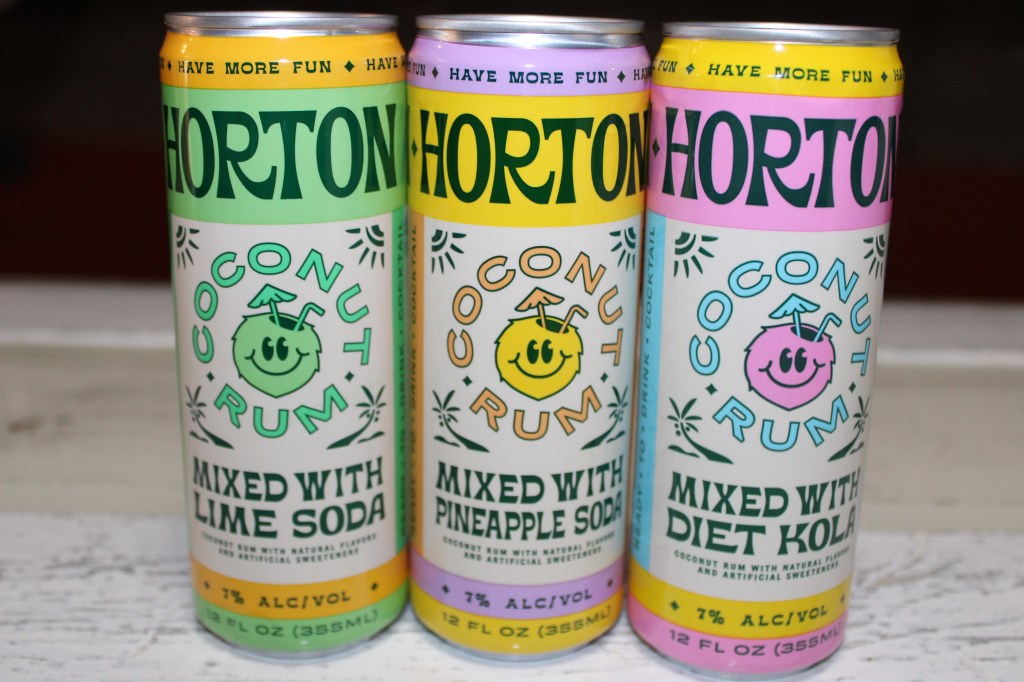
“Horton is the ultimate drink for every occasion – from girl’s nights in to hangin at the lake with your fav people.” ~ Horton Coconut Rum
We mix most of our cocktails ourselves and seldom buy pre-mixed drinks. Still, variety is the spice of life, and it’s nice to have quick and delicious things on hand.
I was excited to receive a box of goodies from Horton Rum. The first thing that caught my eye was the adorable cans. They are cute enough to sit on a shelf in your bar; however, these cocktails are best chilled in the fridge.
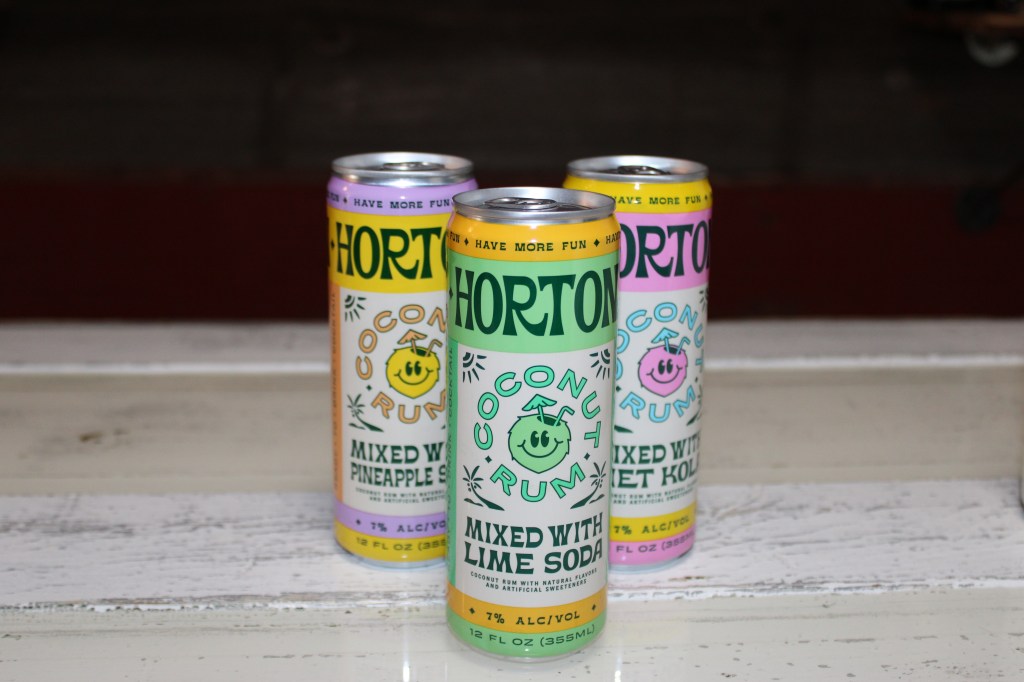
The fun canned beverages were founded by Krista Horton, whose go-to cocktail is diet cola and coconut rum. Put the two together in a can, and boom…Horton Coconut Rum Cocktails were born. There are other flavors as well. I love one of the company’s catchphrases, “You don’t need sunshine for a fun time.” The drinks are sunshine in a can. My mind goes directly to the beach while sipping them.
For other summery drinks, check out Butter, Bourbon, and Sins Bucha Colada or Tito’s Tropical Tail Wagger.
Below is a quick video I made while enjoying my first taste of a Horton Coconut Rum Pre-mixed Cocktail. Visit drinkhorton.com to snag some of your own.
-
Lancaster Cast Iron
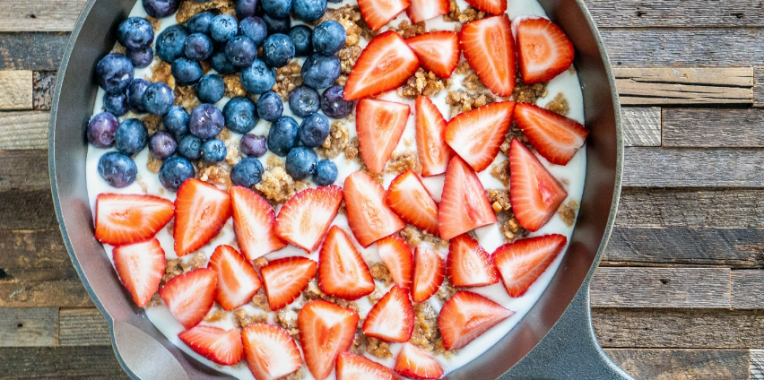
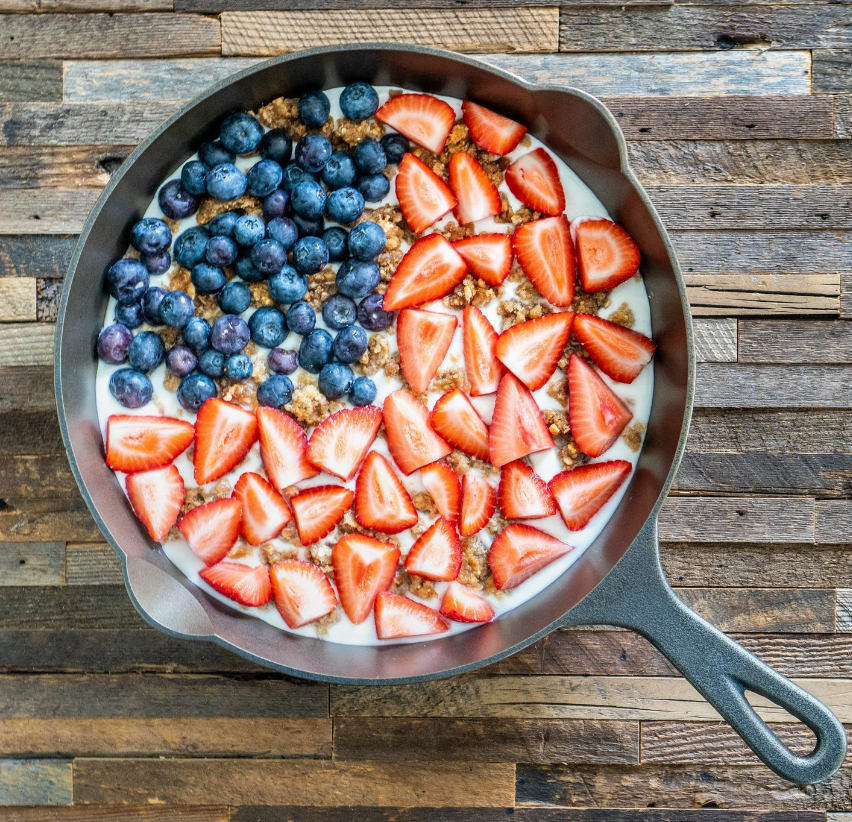
I LOVE cast iron. You will only find cast iron, enameled cast iron, and stainless steel in my kitchen. I have ranted about most nonstick materials in previous posts, so I will spare you this time.
I recently tried out the Lancaster Cast Iron skillet No. 4. I want to apologize for saying the skillet is 5 or 6 inches in the video. It is a 7-inch skillet. I have never been good at guessing numbers.
Lancaster’s cast iron skillets are pre-seasoned and have an extremely smooth surface, two large pouring spouts, and traditional cast iron handles. One of the reasons cast iron skillets last literally for generations is because they are molded as one piece. No screws or bolts are holding in the handle. This little skillet has some weight to it, as it should. I plan on collecting all of them.
The best part? Lancaster cast iron is poured, finished, and seasoned in Southeastern Pennsylvania. They are 100% made in the USA. Use these pans on a gas stove, electric, or induction, and even take them camping to use on the open fire.
Another wonderful thing about high-quality cast iron is that it truly gets better with time, just like you. As you know, if you own any cast iron, the more you use it, the better seasoned it becomes, improving the nonstick surface and naturally creating a fantastic cooking area. Go ahead and cook, fry, and bake in these skillets, and plan on passing them down to the next generation.
Here is a quick video of the skillet in action:
I have butter issues.
Check out Lancaster cast iron skillets here. You may want to prepare an early Christmas list for yourself. They also have beautiful Amish-made wooden utensils and more. -
360 Cookware
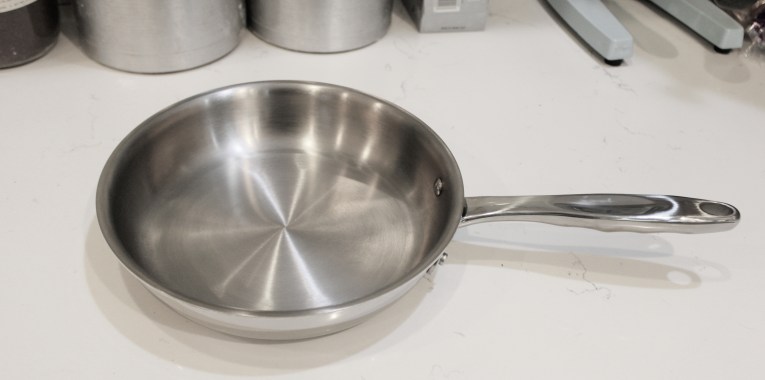
Manufactured in West Bend, Wisconsin, 360 Cookware convinces us we do not need chemical-laden nonstick pans to enjoy cooking.
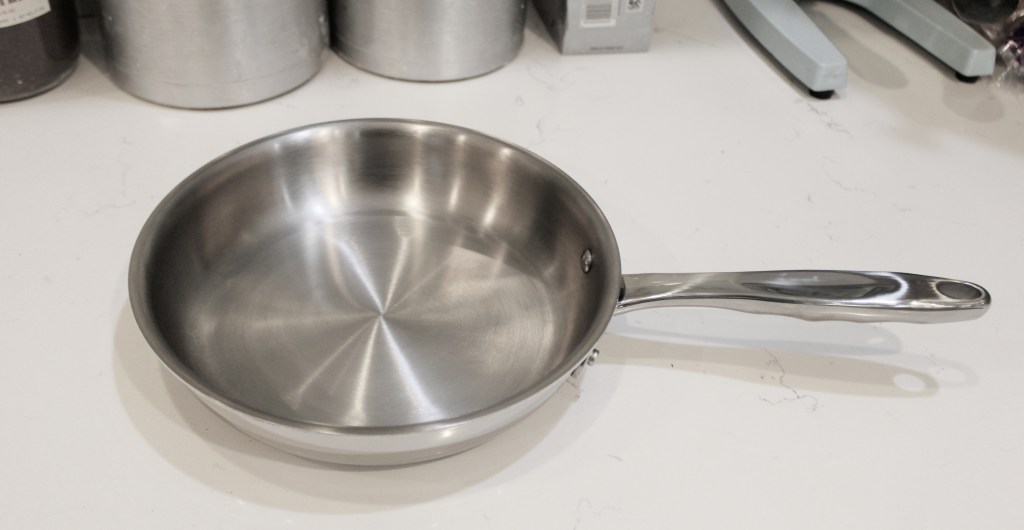
I have always felt entirely alone in my love for stainless steel cookware. I know, I know — it’s not the latest trend, and occasionally, it requires a little soaking to get clean. But I don’t care. I have never trusted nonstick due to the chemicals used to create the coating.
The Latest Craze of Ceramic Cookware isn’t Ceramic at all
Did you know that ceramic cookware isn’t ceramic at all? It’s called ceramic cookware only because it looks ceramic. Ceramic coatings are made of silica (derived from silicone). Once that coating chips, you’re adding silicone to your food. Call me weird, but that just freaks me out. Maybe it’s safe if it doesn’t chip, but I’d rather not take my chances. End of nonstick cookware rant.
Due to all of that, I have always turned to stainless steel pots and pans. I feel safe using them, and if you buy quality pieces, they literally last a lifetime. I have some great stainless steel cookware that I am certain will pass on to my children when I am gone and still last them a lifetime as well. Don’t fight, kids. There’s plenty to go around.
What Makes 360 Cookware Special?
Needless to say, when I was contacted to receive a sample of 360 Cookware, a high-quality stainless steel brand, I quickly said “yes.” I tried out the 8.5-inch fry pan. All of 360 cookware is designed in the following way:
** 3 metals bonded together: The inside layer, or cooking surface, is T-316 Surgical Grade Stainless Steel, 18/8. That 18/8 refers to the percentage of chromium and nickel in the metal. In this case, it’s 18% chromium and 8% nickel.
** The outside layer that sits on the burner is T-400 series stainless steel, which has a lower nickel content and high carbon steel content to interact on induction cooktops. These two layers of stainless steel surround a layer of aluminum. The aluminum does not touch your food but ensures superior heat conduction and even heating.
** Chemical-free cooking: 360 Cookware uses a dry sanding process on all of their products, which gives them a non-porous surface. Their cookware is always PFAS, PFOS, PFOA, and PTFE FREE. This process allows for easy cleanup, too.
Here is what makes 360 cookware unique from other stainless steel cookware brands. They designed the layers of metal in a way that allows air and heat to circulate evenly while cooking. For this reason, a high heat is almost never needed to get the job done. Low to medium heat works perfectly, and because of the even heat distribution, you don’t need as much fat and oils as you would with traditional stainless steel cookware. The food cooks in its own juices, allowing for easy cleanup and less fat.
What I Thought of it
Now that we’ve looked at several of the facts about 360 cookware, let me tell you what I thought of it. The first thing I noticed when I unpacked this little fry pan was an impressive weight. I have other stainless steel pans, and this is the heaviest one for its size. I can tell it is built with high-quality metals and made to last. A heavy bottom pan is a good clue that food will cook evenly and will be less likely to burn.
I wanted to make an apple cheesecake, so I put my shiny new toy to the test to cook up some apples in sugar and cinnamon.
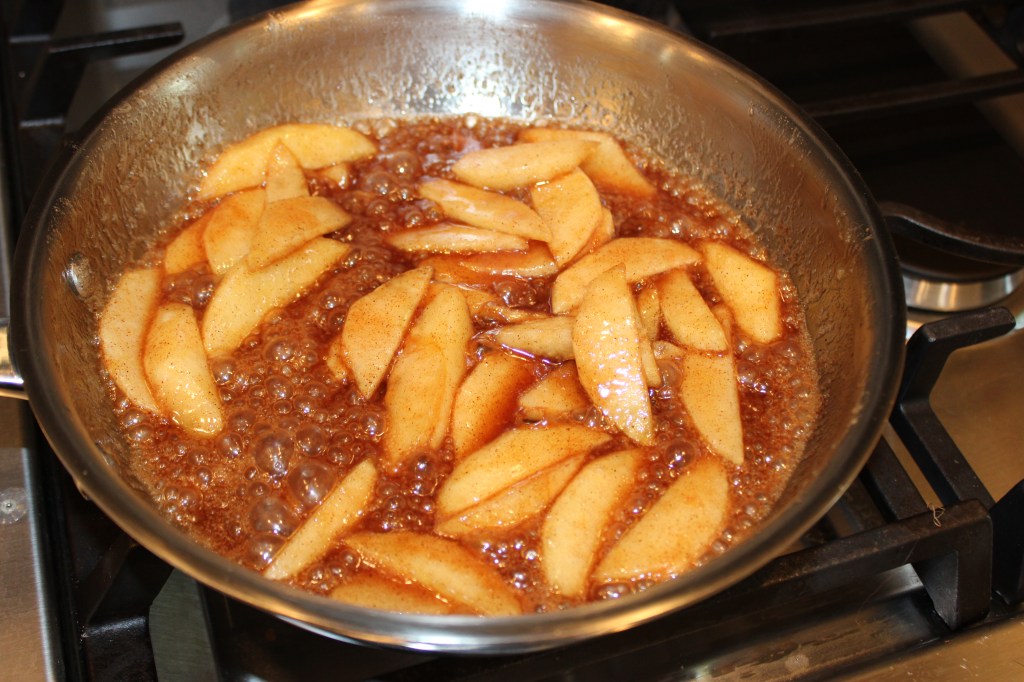
The amazing aroma of apple’s cooking in sugar and cinnamon is another topic for another day. As far as the 360 cookware Fry Pan goes, it was a joy to use. If you love cooking, you know what I mean. Nothing was sticking, the wonderful heavy bottom of the pan heated evenly, and the result was tender, sticky apples, and a pan that was easy to clean up.
I plan on ordering more from this great company. If you check out their about us page, you’ll see it’s an American company with great values and high standards. Couple that with excellent cookware that will last a lifetime, and I am sold.
-
Apple Cheesecake
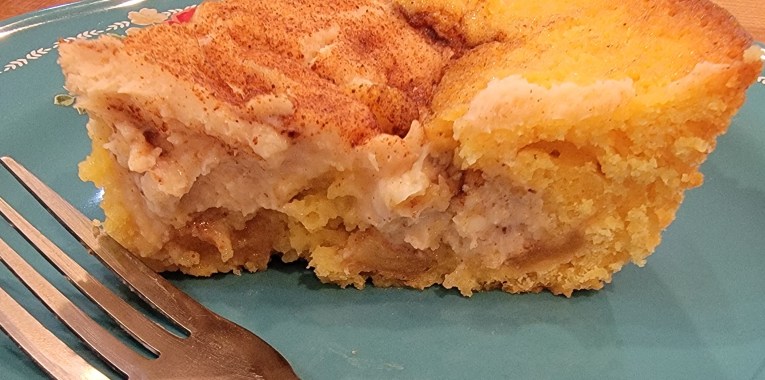
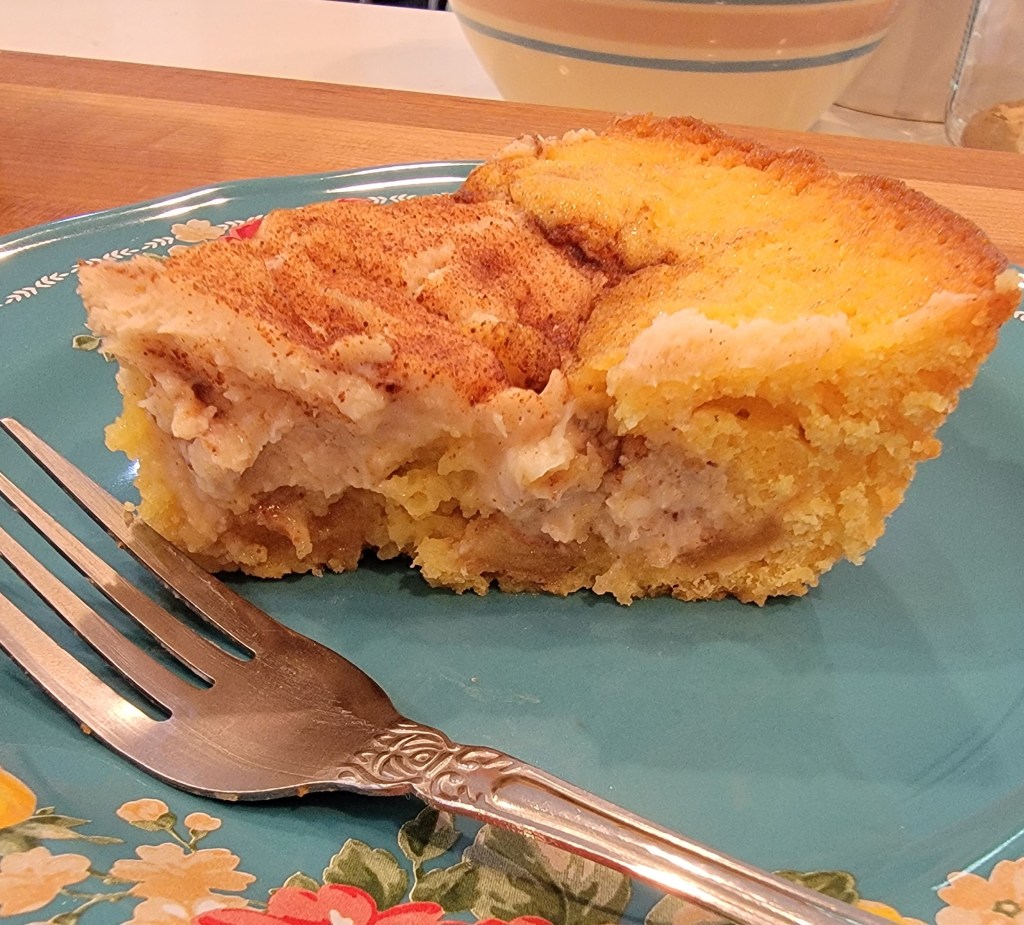
I created Apple Cheesecake from a different recipe, **Peachy Cheesecake, which my family has enjoyed for years. However, my husband doesn’t like peaches, and I always wondered if apples would work well in the recipe. Turns out they do.
Fair warning: this recipe isn’t an actual cheesecake. The original recipe has just always been called that, so it stuck. Cream cheese is involved, but the bottom of the dessert is a yellow cake. Here’s what I know you will love about this yummy treat:
- vanilla pudding in the cake
- a layer of apples cooked in sugar and cinnamon
- topped with cream cheese
- sprinkled with sugar and cinnamon
I love the flavor and texture of this dessert. As mentioned, the original recipe uses peaches, and I love that one, too. Someday, I would like to try cherries as well. I think that day might be today.
Once the cake is cooked, let it cool completely, and slice pieces out of the pan. I prefer this dessert cold. So, if you might enjoy it that way, cover the cake with aluminum foil or plastic wrap once it is cooled and store it in the refrigerator for a couple of hours before slicing.
Apple Cheesecake

A vanilla cake topped with cinnamn & sugar apples and cream cheese.
The cake
- 3/4 cup all-purpose flour
- 1 tsp baking powder
- 1/2 tsp salt
- 3 oz cook & serve dry vanilla pudding mix (don't use instant, use the cook & serve)
- 3 tbsp butter, softened
- 1 egg
- 1/2 cup whole milk (You could use other milks other than whole milk, but I have only used whole milk so I can't guarantee how it would turn out. I prefer whole milk for cooking and baking.)
Cream cheese topping
- 1 8 oz pkg cream cheese, softened
- 1/2 cup white sugar
- 3 tbsp reserved juice from the cooked apples.
Sugar topping
- 1 tbsp white sugar
Apple filling
- 4 Medium apples (I prefer Honeycrisp or Golden Delicious but use what you prefer. )
- 1/4 – 1/2 cup white sugar (We like things pretty sweet around here so whether I am making apple pie, apple crisp, or an apple cake, I'm usually right around 1/2 cup of sugar. However, if you want more tartness stick with about 1/4 of a cup.)
- Cinnamon to taste (I think cinnamon can be a light or a strong flavor and it's really a personal preference. So, I don't have a measurement for it. I judge by how brown the apples look after shaking some cinnamon in. We LOVE cinnamon, so mine are coated, but you may prefer a little less. )
Cook the apples
Peel and slice all of the apples.
Place the apples in a bowl and add the sugar and cinnamon. Toss gently to coat the apples.
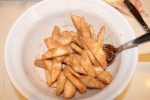
Warm up a sauté or fry pan on a low to medium heat. Once it's warm, add 1/4 cup of butter and allow it to melt.
As soon as the butter melts, put the apple mix into the pan and stir the apples around.

Continue to cook and stir the apples (stir often). Cook them until they are soft but not mushy, and until there is a nice thick sauce from the juice and sugar.

When the apples are soft, Remove the pan from the heat, and scrape the apples along with the sauce into a bowl. Set aside.
The cake
Mix all of the cake ingredients in an electric mixer until well blended.
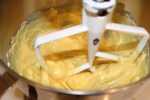
Pour the cake batter into a well-greased 9-inch pie plate.

Using a fork or a pair of tongs, lay the apples around the cake. It's okay if some of the apples double up. Using a fork or tongs will allow you to reserve the juice for later.

Cream cheese topping
Mix the creamed cheese, sugar, and three tablespoons of the reserved juice from the apples together until smooth and creamy.

Using a spoon, drop dollops of the cream cheese mixture around the cake. Leave about one inch of space at the edge of the cake.

Cinnamon and sugar topping
Stir together the cinnamon and sugar and sprinkle it all over the top of the cake.

Bake
Bake the cake in a 350° oven for 30 – 35 minutes. Look for a golden-brown crust. The center is soft until it sets.
The photos for this recipe were taken the first time I made this cake with apples instead of peaches. What I learned was that two apples were not enough. So, keep in mind that as you look at the photos, you’ll see a smaller number of apples sliced, in the bowl, in the pan, and also on top of the cake. I decided it would be best to use four apples instead.
Also, as mentioned, I prefer to cool the cake and then refrigerate it for a couple of hours before slicing it. However, if you prefer it warm, refrigeration isn’t necessary. For some reason, I like the cold texture for this recipe.
** To make this a peachy cheesecake instead of apple, replace the apple filling instructions with 1 (15-ounce) can of peaches in juice or syrup. Drain the peaches and save the juice. Place the peaches on top of the cake just as you would the apples. When it’s time to mix the 3 tablespoons of liquid with the cream cheese for the cream cheese topping, use the reserved peach juice.
FAQs
Can you use different fruits for apple cheesecake?
As mentioned above, I have always wanted to try cherry, and I will give that a go soon. I think this is a pretty flexible recipe and you could try lots of different fruits. One thing that would change things up is mixing the cream cheese batter. The original recipe uses juice from the canned peaches and in the apple recipe I use the sauce created from the apples and sugar. I think with canned pie filling (that’s what I am thinking of trying), you may have to add 3 tablespoons of water or even lemon juice to the cream cheese so it thins out nicely. The corn syrup that surrounds the fruit and canned pie filling would be too thick. Of course, you can also use blueberries or cherries from scratch and use the liquid that you create as you mix sugar in with the berries. Give it a shot!
What if the apple cheesecake turns out to be too dry?
There is a lot of moisture in this cake and I struggle with wondering if it’s done more than I have ever struggled with it becoming dry. If the cake is too dry, you are likely over-cooking it. Cook it closer to 30 minutes instead of 35 next time.
What if I only have instant dry pudding mix?
There is a big difference between cook and serve dry pudding mix and instant dry pudding mix. For this recipe, they are not interchangeable. Instant pudding is great for no-bake desserts because it sets up quickly and doesn’t need any heat. However, since this cake has to bake, you must use cook and serve instant pudding.
-
Banana Pudding
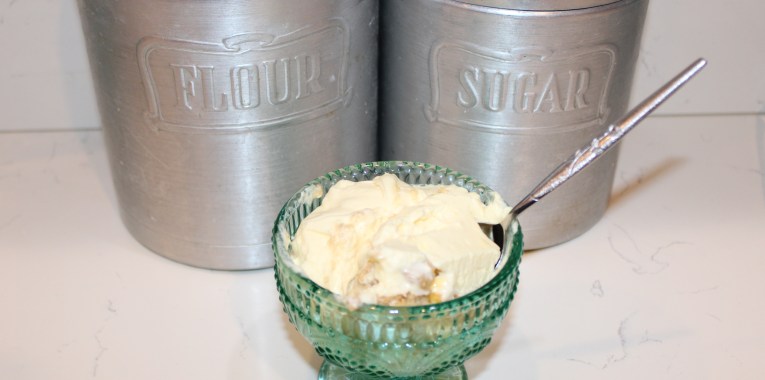
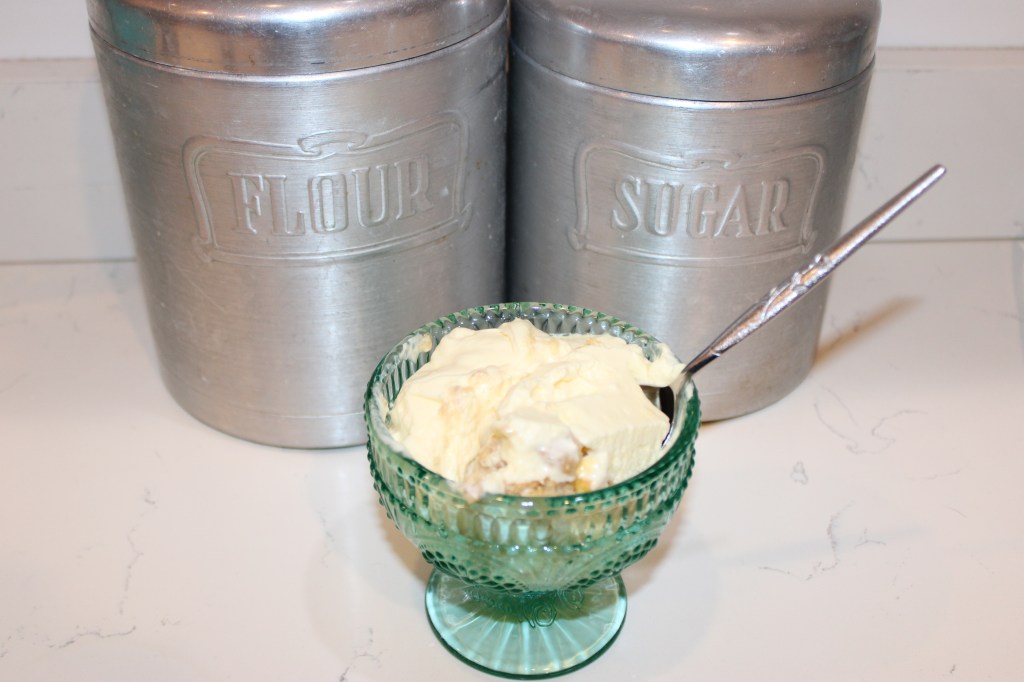
There are a few things in life that are iconic to the South, and banana pudding is one of them. It came to be after the Civil War when bananas were suddenly readily available thanks to faster steamships. Today, you’ll find banana pudding everywhere, often in buffet lines. However, if you want the good stuff, you must make it homemade or find someone who does (then become their friend).
I am all for quick recipes, but once in a while, I like to slow down and enjoy the process of putting in the time to make a fantastic dish. There are banana pudding recipes out there that use whipped topping instead of real whipped cream, and they are tasty as well. Still, nothing compares to the real thing. There — I said it. Once you indulge in a decadent banana pudding or any dessert made with real whipped cream, it’s tough to go back. There is a time and a place for things like Cool Whip, especially for all those yummy summer jello-type desserts.
Okay, now that I have talked up whipped cream, I’ll let you know it’s a time-consuming part of the recipe, but it’s no work at all. Just allow an extra 15 minutes to a half hour to make the whipped cream before everything else.
This recipe works great with a 2-1/2-quart dish like a trifle dish. I often double it and use a 9×13 pan. There is no need to grease the pan, and one of my favorite parts about banana pudding is that it is a no-bake recipe. Most recipes, including this one, call for vanilla wafers, and I think their vanilla flavor is perfect for the dish. However, you can substitute graham crackers if you prefer.
Banana Pudding

Created in the South and loved everywhere, this impressive dessert delights nearly all taste buds with vanilla and banana flavors.
- 1 14 oz can sweetened condensed milk
- 1 1/2 cups cold water
- 1 4 serving pkg instant vanilla pudding
- 1 pint (2 cups) whipping cream — whipped
- 36 vanilla wafers
- 3 medium bananas, sliced and dipped in lemon juice (Coat the bananas in a bowl of lemon juice then immediately transfer them to a strainer to strain off the juice. This helps them to not brown. )
Pour the cold whipping cream into a mixer and mix on medium speed until it thickens into a scoopable whipped cream. This can take a bit of time.
As the whipping cream whips, slice the bananas into a separate bowl and pour enough lemon juice in to coat the bananas. You don't have to cover them but add enough so you can stir the bananas to coat them.
Dump the bananas into a strainer and set that aside.
When the whipped cream is ready, place it in a bowl and put it in the refrigerator as you work on the next steps.
Once the whipping cream is out of the mixer, wipe out the bowl if you don't have a backup, and add the cold water and sweetened condensed milk. Mix until blended.
add the pudding mix to the mixing bowl and blend well.
Put this mixture in the refrigerator for 5 minutes.
Remove the pudding mixture and the whipped cream from the refrigerator.
Gently fold the whipped cream into the pudding mixture.
In a 2 1/2-quart serving bowl, spoon 1 cup of the pudding mixture into the bottom and spread evenly.
Top with 1/3 of the vanilla wafers, 1/3 of the bananas, and finally, 1/3 of the pudding mixture.
Repeat these steps two more times, then top with the remaining pudding.
Chill for at least an hour (I prefer several hours).
FAQs
Can I Store Leftover Banana Pudding?
Yes! Don’t let any leftover banana pudding go to waste. Cover the dish with a lid or plastic wrap and store banana pudding in the refrigerator for three days. After three days, the bananas get too mushy. It won’t freeze well, so don’t bother trying.
What if I don’t have vanilla wafers or graham crackers?
I have only used vanilla wafers or graham crackers; however, I think lady fingers (often used in tiramisu) or any cookie might work. Maybe a vanilla sandwich cookie or a cookie with cinnamon. Give it a try! The great thing about these types of desserts is that they are tough to mess up.
Can I use a handheld mixer to make whipping cream?
You can absolutely use a handheld mixer to whip up the real whipped cream. Prepare yourself for standing in one place in the kitchen for up to a half hour. If that is no biggie, then you will be fine. Plus, you can always ask others to step in and hold the mixer for a bit.
-
Mel’s Classic Margarita
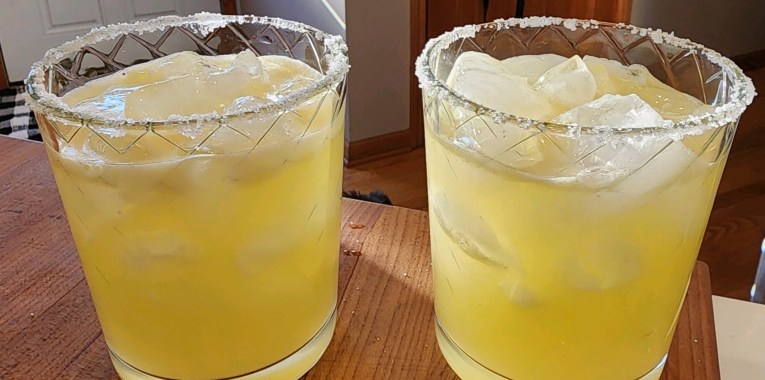
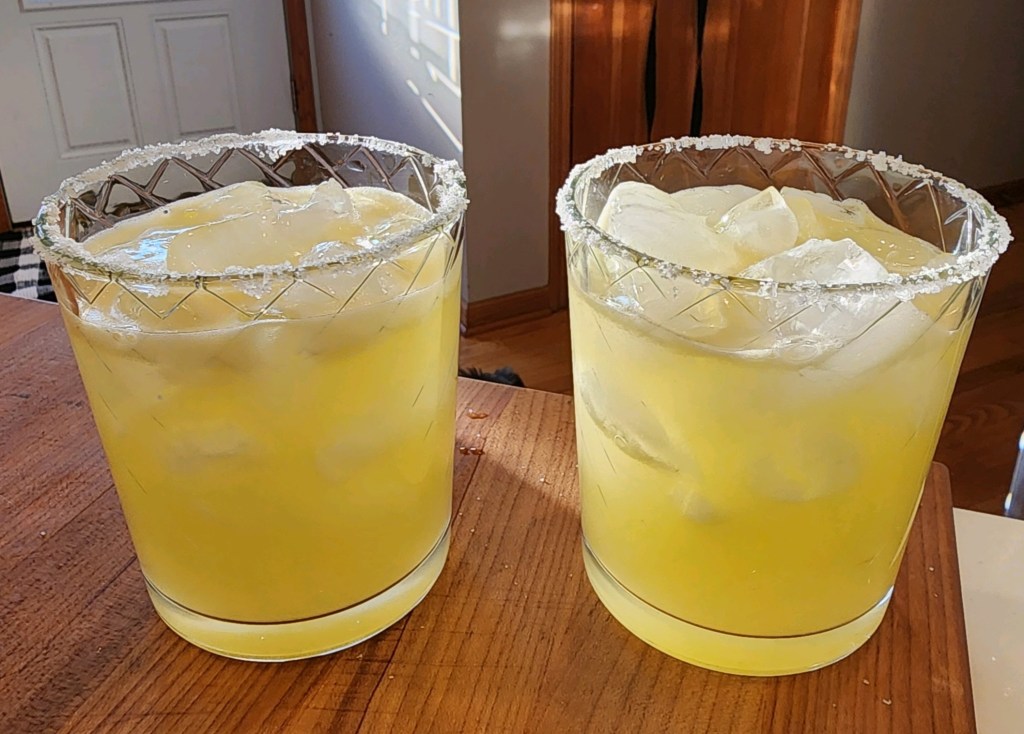
Is it the salt, the freshly squeezed juice, or the tequila that makes me love you?
There is a lot of folklore about who created the classic margarita. Some say a Mexican restaurant owner threw some lime juice into tequila for a persnickety showgirl around 1938. Others say a Texas socialite named Margaret impressed guests with the new cocktail at a house party in 1948. There are more stories as well. I am not sure we will ever know the truth. The margarita remains as mysterious as tequila, born of the blue agave plant and made only in Mexico.
My husband gets credit for the following recipe (though he named it after me) as he does for all of our cocktails. We used to enjoy this fabulous restaurant in the cutest town just 30 miles from us, but sadly, it closed. We went solely for the margarita and had to replicate it at home. He succeeded 100% and then some. This classic margarita recipe is one of the best you will ever have.
Fair warning: I do not like frozen, slushy margaritas from a machine. I won’t drink a margarita unless it’s the real deal. I didn’t know what a real one was until a few years ago. Ours is a little different with the mixture of orange, lime, and lemon, rather than lime only.
Mel’s Maragrita

A classic margarita with fresh fruit from oranges, lemons, and limes
- 3 ounces tequila
- 2 ounces triple sec
- 4 ounces juice mixture (see premade juice recipe in the notes below)
- 2 ounces simple syrup (see simple syrup recipe in the notes below)
Add all ingredients to a shaker with 3 to 4 ice cubes and shake well.
Salt the rim of 2 rocks glasses and add ice.
Pour the maragrita over the ice and enjoy!
For the juice mixture:
Freshly squeezed juice is worth it! We squeeze ours ahead of time and keep it in the refrigerator. This juicer from Amazon is a lifesaver.
Squeeze: 2 cups orange juice, 2 cups lime juice, and 1 cup lemon juice. Strain the orange juice and lime juice as you pour them into your container. Store it in the fridge. Fresh juice only lasts a few days — a week if you’re lucky. However, you can freeze it and take it out when ready to use (allow some defrost time). It will separate and need a good shaking when you defrost it.
Simple Syrup:
We are snobs and don’t like store-bought simple syrup. Honestly, it is silly to buy it when you only need two ingredients to make it: water and sugar. Boil 1 cup of water with one cup of sugar. Once boiling, keep it at a low boil for about one minute, stirring until the sugar dissolves. Allow it to cool, then pour into a glass container. We use a glass bottle designed to hold olive oil.
It is obviously super helpful to make the juice mixture and simple syrup ahead of time so you can grab it all when margarita mood strikes.
What to Serve with Mel’s Classic Margarita?
I don’t recommend a margarita on an empty stomach, so grab your favorite chips and salsa or guacamole to accompany it. Of course, tacos or any spicy or Mexican dish are excellent with the sweet and salty margarita.
FAQs
Do I have to use fresh-squeezed juice?
Fresh-squeezed citrus juice tastes best, but I understand that some people find the task tedious. We haven’t tried bottled citrus juices for this margarita recipe, but I am sure it is 100% doable!
What if I don’t have a rocks glass?
You can still enjoy a margarita without a rocks glass. Use any kind of glass, such as a small tumbler.
Which tequila should I use for a classic margarita?
We use whatever we have on hand (Jose Cuervo works fine). Still, there are so many fabulous tequilas, so try anything you want! Stay away from Mezcal, or you will have a smokey margarita.
-
Subscribe
Subscribed
Have a WordPress.com account? Log in now.

