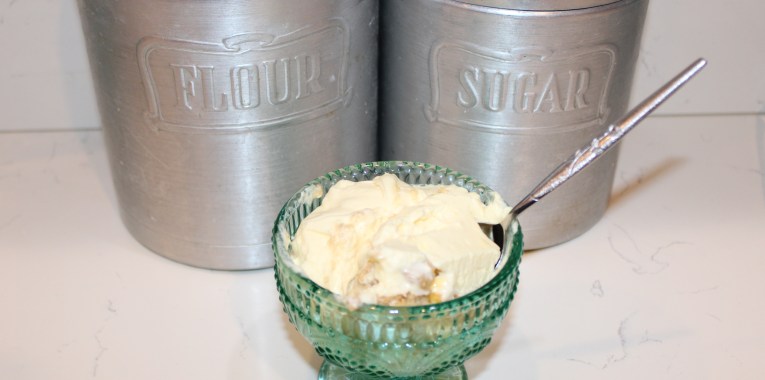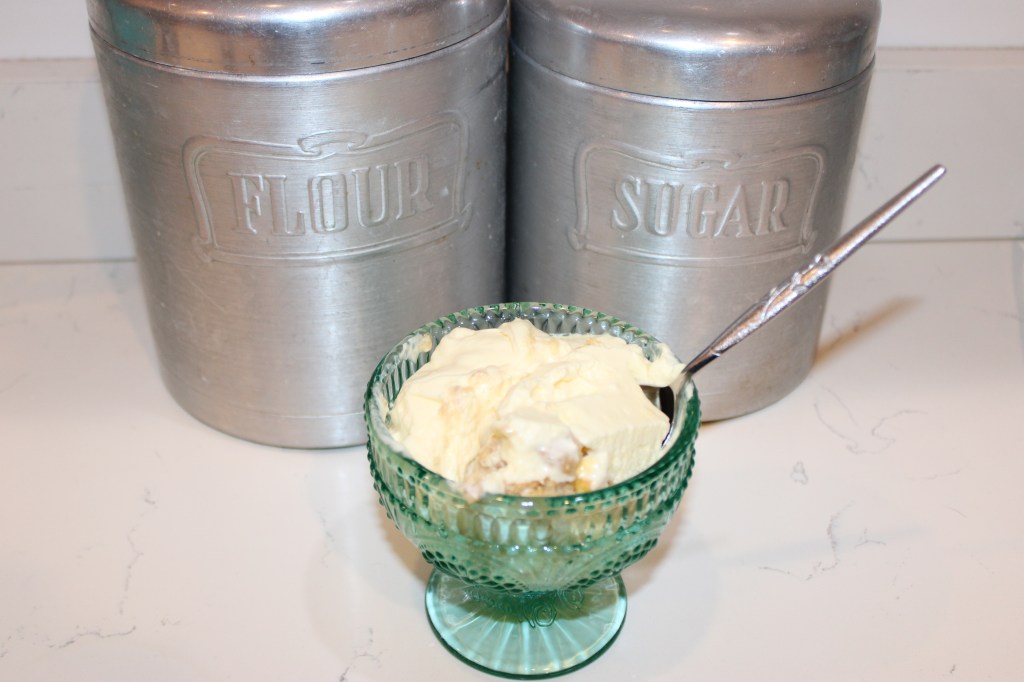
I created Apple Cheesecake from a different recipe, **Peachy Cheesecake, which my family has enjoyed for years. However, my husband doesn’t like peaches, and I always wondered if apples would work well in the recipe. Turns out they do.
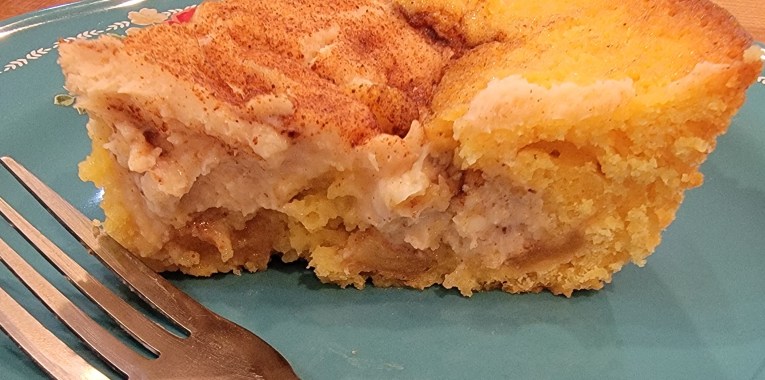
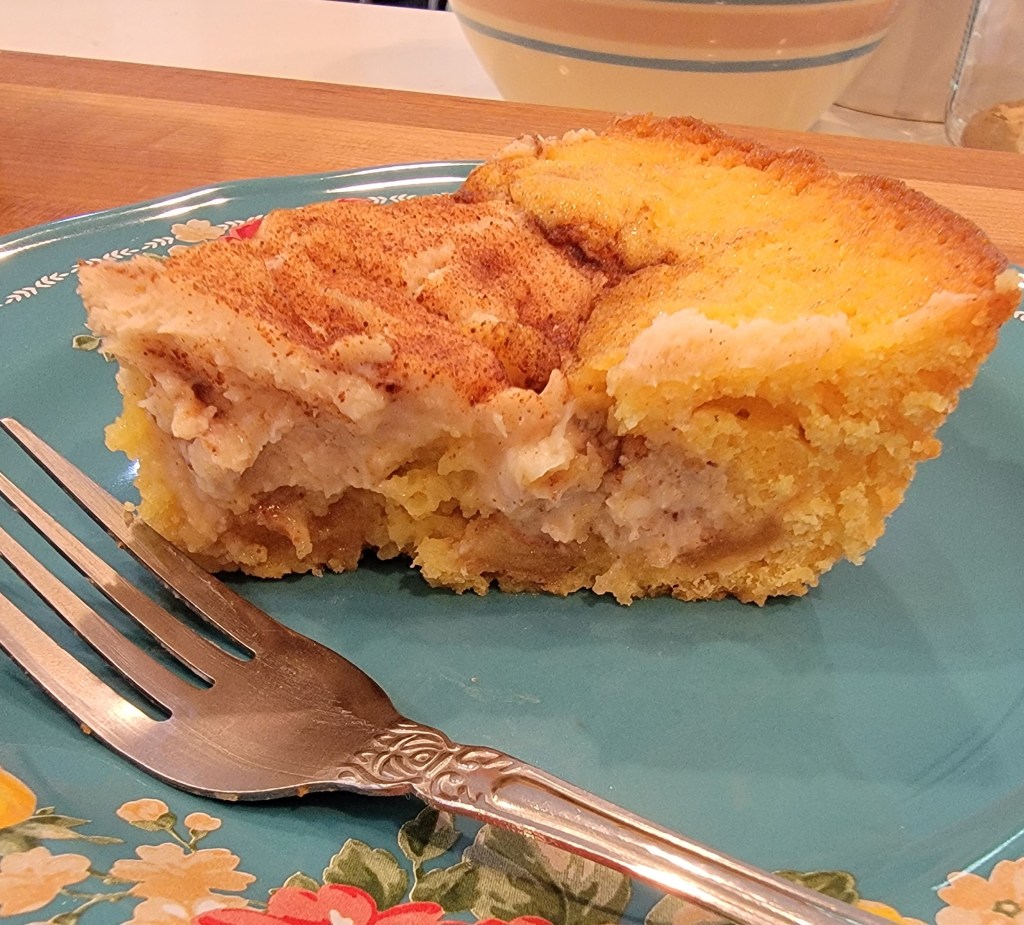
Fair warning: this recipe isn’t an actual cheesecake. The original recipe has just always been called that, so it stuck. Cream cheese is involved, but the bottom of the dessert is a yellow cake. Here’s what I know you will love about this yummy treat:
- vanilla pudding in the cake
- a layer of apples cooked in sugar and cinnamon
- topped with cream cheese
- sprinkled with sugar and cinnamon
I love the flavor and texture of this dessert. As mentioned, the original recipe uses peaches, and I love that one, too. Someday, I would like to try cherries as well. I think that day might be today.
Once the cake is cooked, let it cool completely, and slice pieces out of the pan. I prefer this dessert cold. So, if you might enjoy it that way, cover the cake with aluminum foil or plastic wrap once it is cooled and store it in the refrigerator for a couple of hours before slicing.
Apple Cheesecake

A vanilla cake topped with cinnamn & sugar apples and cream cheese.
The cake
- 3/4 cup all-purpose flour
- 1 tsp baking powder
- 1/2 tsp salt
- 3 oz cook & serve dry vanilla pudding mix (don't use instant, use the cook & serve)
- 3 tbsp butter, softened
- 1 egg
- 1/2 cup whole milk (You could use other milks other than whole milk, but I have only used whole milk so I can't guarantee how it would turn out. I prefer whole milk for cooking and baking.)
Cream cheese topping
- 1 8 oz pkg cream cheese, softened
- 1/2 cup white sugar
- 3 tbsp reserved juice from the cooked apples.
Sugar topping
- 1 tbsp white sugar
Apple filling
- 4 Medium apples (I prefer Honeycrisp or Golden Delicious but use what you prefer. )
- 1/4 – 1/2 cup white sugar (We like things pretty sweet around here so whether I am making apple pie, apple crisp, or an apple cake, I'm usually right around 1/2 cup of sugar. However, if you want more tartness stick with about 1/4 of a cup.)
- Cinnamon to taste (I think cinnamon can be a light or a strong flavor and it's really a personal preference. So, I don't have a measurement for it. I judge by how brown the apples look after shaking some cinnamon in. We LOVE cinnamon, so mine are coated, but you may prefer a little less. )
Cook the apples
Peel and slice all of the apples.
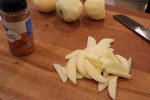
Place the apples in a bowl and add the sugar and cinnamon. Toss gently to coat the apples.

Warm up a sauté or fry pan on a low to medium heat. Once it's warm, add 1/4 cup of butter and allow it to melt.
As soon as the butter melts, put the apple mix into the pan and stir the apples around.
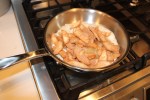
Continue to cook and stir the apples (stir often). Cook them until they are soft but not mushy, and until there is a nice thick sauce from the juice and sugar.
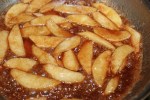
When the apples are soft, Remove the pan from the heat, and scrape the apples along with the sauce into a bowl. Set aside.
The cake
Mix all of the cake ingredients in an electric mixer until well blended.
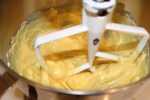
Pour the cake batter into a well-greased 9-inch pie plate.

Using a fork or a pair of tongs, lay the apples around the cake. It's okay if some of the apples double up. Using a fork or tongs will allow you to reserve the juice for later.

Cream cheese topping
Mix the creamed cheese, sugar, and three tablespoons of the reserved juice from the apples together until smooth and creamy.
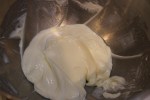
Using a spoon, drop dollops of the cream cheese mixture around the cake. Leave about one inch of space at the edge of the cake.

Cinnamon and sugar topping
Stir together the cinnamon and sugar and sprinkle it all over the top of the cake.

Bake
Bake the cake in a 350° oven for 30 – 35 minutes. Look for a golden-brown crust. The center is soft until it sets.
The photos for this recipe were taken the first time I made this cake with apples instead of peaches. What I learned was that two apples were not enough. So, keep in mind that as you look at the photos, you’ll see a smaller number of apples sliced, in the bowl, in the pan, and also on top of the cake. I decided it would be best to use four apples instead.
Also, as mentioned, I prefer to cool the cake and then refrigerate it for a couple of hours before slicing it. However, if you prefer it warm, refrigeration isn’t necessary. For some reason, I like the cold texture for this recipe.
** To make this a peachy cheesecake instead of apple, replace the apple filling instructions with 1 (15-ounce) can of peaches in juice or syrup. Drain the peaches and save the juice. Place the peaches on top of the cake just as you would the apples. When it’s time to mix the 3 tablespoons of liquid with the cream cheese for the cream cheese topping, use the reserved peach juice.
FAQs
Can you use different fruits for apple cheesecake?
As mentioned above, I have always wanted to try cherry, and I will give that a go soon. I think this is a pretty flexible recipe and you could try lots of different fruits. One thing that would change things up is mixing the cream cheese batter. The original recipe uses juice from the canned peaches and in the apple recipe I use the sauce created from the apples and sugar. I think with canned pie filling (that’s what I am thinking of trying), you may have to add 3 tablespoons of water or even lemon juice to the cream cheese so it thins out nicely. The corn syrup that surrounds the fruit and canned pie filling would be too thick. Of course, you can also use blueberries or cherries from scratch and use the liquid that you create as you mix sugar in with the berries. Give it a shot!
What if the apple cheesecake turns out to be too dry?
There is a lot of moisture in this cake and I struggle with wondering if it’s done more than I have ever struggled with it becoming dry. If the cake is too dry, you are likely over-cooking it. Cook it closer to 30 minutes instead of 35 next time.
What if I only have instant dry pudding mix?
There is a big difference between cook and serve dry pudding mix and instant dry pudding mix. For this recipe, they are not interchangeable. Instant pudding is great for no-bake desserts because it sets up quickly and doesn’t need any heat. However, since this cake has to bake, you must use cook and serve instant pudding.